If there is one thing that has motivated me to improve my photography skills, it's been the growing popularity of various photo-oriented social media platforms. Photos are the first thing a reader sees before considering whether or not to continue reading the text, which is a humbling fact when you consider how much work you put into your writing.
It's true though. If a photo or graphic design catches my eye, I'm more likely to click on the link. Naturally, I keep that in mind when selecting photos for my own blog. The photos I choose are the first impressions I'm giving to potential readers. Therefore, I'm constantly learning about all the settings of my DSLR camera and reading tutorials so that I can improve the quality of the photos that I will ultimately share on my blog. However, it's not always realistic or convenient for me to carry that camera around everywhere.
For example, the other day I took my son to an indoor play gym that requires a parent to accompany children under a certain age. I didn't want to miss out on a cute photo-op as my son climbed and slid and swung in the jungle gym. But could you imagine me, a full-grown adult, climbing through that jungle gym with an expensive camera dangling from my shoulder while also trying to ensure the safety of my child? It was inevitable that my iPhone was going to have to suffice as my camera.
For example, the other day I took my son to an indoor play gym that requires a parent to accompany children under a certain age. I didn't want to miss out on a cute photo-op as my son climbed and slid and swung in the jungle gym. But could you imagine me, a full-grown adult, climbing through that jungle gym with an expensive camera dangling from my shoulder while also trying to ensure the safety of my child? It was inevitable that my iPhone was going to have to suffice as my camera.
Don't get me wrong, the camera on the iPhone is impressive and serves as a great, convenient backup when you need to travel light (or in my case, climb through a jungle gym), but the quality is easy to distinguish when compared to photos from my DSLR camera. Fortunately, even if your photos don't turn out to be be the quality you had hoped, there are other ways to make a photo grab the attention of its viewers, no matter what type of camera you use. By adding text, filters, and unique crops to your photos, you can transform a photo into a visually attractive graphic design that brings more viewers your way.
For some of you, the thought of graphic design might give you an immediate headache. Let me quickly put your mind to ease and inform you that I'm a former elementary school teacher turned stay-at-home mom. My design expertise centers mainly around glue sticks, pipe cleaners, construction paper and wiggly eyes. Now that you know my credentials, I want to share one of my new favorite apps that will unleash the inner designer in all of you.
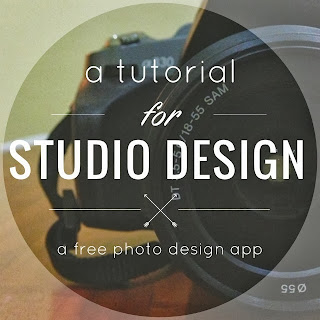
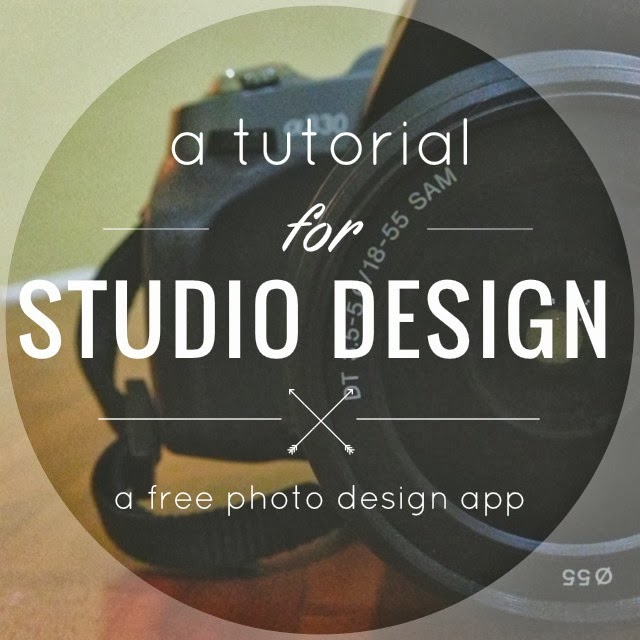
The name: Studio Design. It's game: helping you make top-notch visual creations. With over 500 free shapes, crops and fonts, you will find yourself with endless creative options. It's also very easy to export your design to Facebook, Instagram, Twitter, and other social media platforms. One additional unique feature with this app is that you can "remix" any design from any designer! The home feed is set up similar to that of Instagram. If you come across a design you like as you're scrolling through the designs of people you're following, you can just click the "remix" button and it will open up their design as an editable version. That way, you can reuse certain elements and personalize it without having to start from scratch. Pretty awesome!
This app is very user friendly but I thought it would be nice to offer a quick tutorial so that you can see some of the basics and get a general tour of where all the features are located. First, I'll show you how to create a design from scratch and then I'll show you how to "remix" a design.
To read my complete tutorial, head over to Cropped Stories where I share a step-by-step tutorial with lots of pictures!
Gonna check this out!
ReplyDeleteMonica
Thanks Monica!
Deleteread this post by way of Cropped Stories. cannot wait to check this app out!
ReplyDeleteThanks for stopping by and commenting, Jen! I hope you enjoy the app :-) Be sure to follow me if you'd like!
Delete